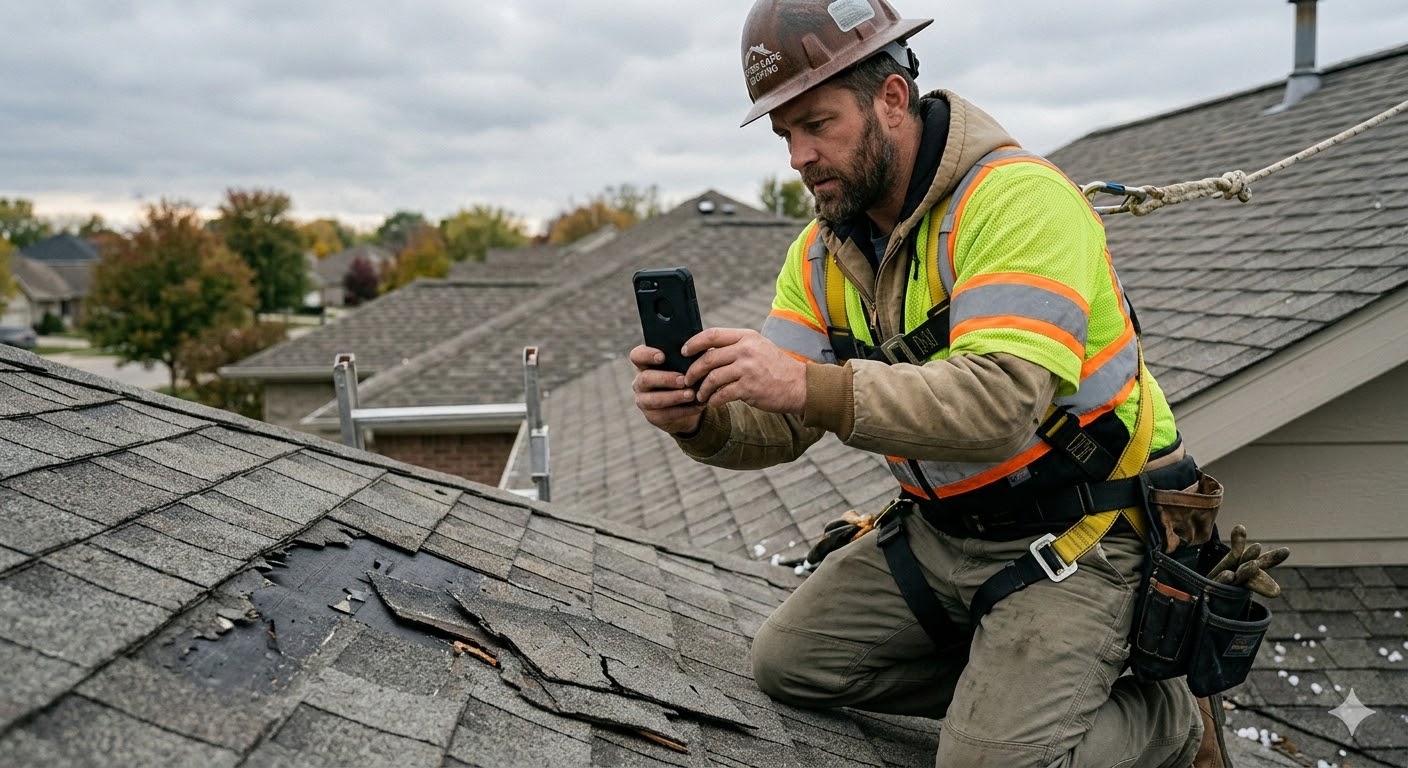
You can have the most accurate Xactimate estimate in the world, but if your photos don't back it up, the carrier will deny it. Documentation is the single biggest factor in whether a supplement gets approved or kicked back, and most contractors don't take nearly enough of it.
Claims backed by strong photographic evidence see approval rates above 95%. Claims without it drag on for weeks, get denied for "insufficient documentation," or settle for far less than the job actually costs.
Here's the complete photo checklist for every roof insurance claim — what to shoot, how to shoot it, and how to organize it so the carrier can't say no.
The Complete Photo Checklist
7 shot categories every claim needs
Overview shots
4–6
- –Full building from each elevation (N/S/E/W)
- –Street view showing whole property
- –Each roof slope from ground level
Mid-range shots
5–8 per slope
- –Each roof plane with surrounding context
- –Penetrations, flashings, and soft metals
- –Damaged areas within surrounding materials
Close-up damage
3+ per area
- –Individual hail hits with chalk circles
- –Wind-lifted, cracked, or missing shingles
- –Granule loss and exposed underlayment
- –Scale reference (coin or tape measure) in frame
Component details
2–3 per item
- –Pipe boots, ridge caps, and vents
- –Step flashing, valleys, and drip edge
- –Gutters, downspouts, and skylights
Test squares
1 per slope
- –10×10 ft chalk square on each slope
- –Every hit marked and photographed
- –8+ hits per square = replacement threshold
Collateral damage
As needed
- –Gutters and downspout dents
- –Siding, window screens, and AC units
- –Fence and other soft metals
Tear-off documentation
10+ photos
- –Damaged decking and sheathing
- –Compromised underlayment and rot
- –Hidden flashing failures
Equipment you actually need
You don't need a professional camera. A modern smartphone with a decent lens works fine for most claims. Here's what matters:
Your phone with GPS and timestamps enabled. Turn on location services and date stamps in your camera settings. The ICC requires timestamps and location identifiers on claim documentation, and EXIF data in your photos proves exactly when and where each shot was taken.
Chalk. Pick a color that contrasts with the shingle color — white on dark shingles, blue on lighter ones. You'll use it to circle hail hits, mark test squares, and annotate slopes.
A tape measure or ruler. For scale reference in close-up shots. A coin works in a pinch, but a tape measure is more professional and gives the adjuster exact dimensions.
A pitch gauge. Steep charges are one of the most commonly missed line items. A photo of the pitch gauge on the roof documents the slope and supports the steep charge in your estimate.
If you're shooting from the ground, use optical zoom (30x–60x is ideal). Never use digital zoom — it produces blurry, unusable images.
Overview shots: Set the scene
Start from the ground before you ever get on the roof. These shots establish context — they tell the adjuster what the property looks like and orient them for the detailed shots that follow.
What to capture:
- The full building from each of the four elevations (north, south, east, west)
- A street-level view showing the entire property
- Each roof slope visible from the ground
These don't need to show individual damage. They exist to give the adjuster a mental map of the property so every close-up they see later has context.
How many: 4–6 shots minimum.
Mid-range shots: Show the damage zones
Once you're on the roof, work slope by slope. Mid-range shots bridge the gap between your overviews and your close-ups — they show where on the roof the damage is and how widespread it is.
What to capture:
- Each roof plane, shot so the adjuster can see the general condition
- All penetrations, flashings, and soft metals in the area
- Damaged zones within their surrounding materials (don't crop so tight that the adjuster can't tell where they're looking)
How many: 5–8 per slope. More is fine — you can always cull later, but you can't go back and reshoot.
Close-up damage shots: The money shots
This is where claims are won or lost. Every supplemented line item needs close-up photographic proof that the damage exists and justifies the repair.
What to capture:
- Individual hail hits circled in chalk
- Wind-lifted, creased, or torn shingles
- Cracked or missing shingles
- Exposed felt or underlayment
- Granule loss
Critical: Include a scale reference in every close-up. Place a tape measure, ruler, or coin next to the damage so the adjuster can gauge the size. A close-up of a hail hit without scale could be a quarter-inch bruise or a two-inch crater — the adjuster has no way to tell.
How many: At least 3 per damaged area, from slightly different angles.

Test square documentation
Test squares are the industry standard for proving hail damage density, and they're one of the most persuasive pieces of evidence in your supplement package.
How to do it:
- Mark a 10×10 foot area (100 sq ft) with chalk on each roof slope
- Choose the area with the heaviest visible damage
- Circle every hail hit within the square
- Photograph the full test square from above, then photograph individual hits within it
Why this matters: Most carriers use a threshold of 8+ hail hits per 100 sq ft on at least 3 sides of the roof to justify full replacement. Below that, you're looking at spot repairs. Your test squares prove whether you've cleared that bar.
- 1–3 hits per test square: Spot repairs
- 4–7 hits: Gray zone — supplement with strong documentation
- 8+ hits: Typically triggers full replacement approval
Test Square Thresholds
Hail hits per 100 sq ft
Based on a 10×10 ft chalk square on each roof slope
Carrier will approve targeted repairs only
Disputed — supplement aggressively with strong documentation
Threshold most carriers use to approve full roof replacement
Component detail shots
Every roofing component that needs replacement should have its own photo set. These are the items that adjusters most commonly miss or claim can be "reused."
Pipe boots: Photograph each penetration showing the rubber condition — cracking, curling, or separation from the pipe.
Ridge and hip caps: Show the condition along the full ridge line, with close-ups of any cracked, displaced, or wind-damaged caps.
Step flashing: Photograph wall-to-roof intersections from multiple angles. Show that the flashing is woven into the shingle courses and can't be reused after tear-off.
Drip edge: Shoot the eave and rake edges showing the existing drip edge condition and any damage from the storm.
Valleys: Capture the full valley run and close-ups of any damage to valley lining or surrounding shingles.
Gutters and downspouts: Dents in gutters are irrefutable proof that the storm had enough force to damage the roof. Photograph every dent.

Collateral damage: Prove the storm
Collateral damage on soft metals and other surfaces corroborates your roof damage claim. If the gutters are dented, the AC unit is dinged, and the window screens are punctured, it's hard for the adjuster to argue the roof wasn't hit.
What to capture:
- Gutter and downspout dents (close-ups with scale reference)
- Siding damage — chips, cracks, or holes
- Window screen tears or frame dents
- AC unit fin damage
- Fence damage
- Any other soft metal showing impact marks
This evidence doesn't go in your roofing estimate, but it strengthens the overall claim and makes your roof supplement harder to deny.

Tear-off documentation: The hidden damage
Some of the highest-value supplement items are only visible once the old roof comes off. If you don't photograph during tear-off, you lose the evidence permanently.
What to capture:
- Damaged decking and sheathing (soft spots, rot, water staining)
- Compromised underlayment
- Hidden flashing failures behind siding or at wall intersections
- Any condition that differs from what was assumed in the original estimate
File your supplement immediately when you discover hidden damage during tear-off. Include photos and contractor invoices. Tear-off photos that show conditions as they're uncovered are extremely hard for carriers to dismiss.
Best practices that protect your claim
Shoot within 24–48 hours of the storm. Evidence disappears fast — wind removes more shingles, rain washes away granules, and debris blows away. The sooner you document, the stronger your evidence.
Natural light only. Never use artificial lighting or brighten photos after the fact. Adjusters may view edited photos as manipulated. Overcast days provide the best, most even lighting.
Never strip EXIF data. When sharing photos, avoid compression methods that remove metadata. The timestamp and GPS data in your EXIF information proves when and where each photo was taken.
Take more than you think you need. Minimum 50 photos for a residential claim, 100+ for a thorough job. You can always remove photos from your submission, but you can't go back and take new ones after the roof is repaired.
How to organize photos for submission
A disorganized photo dump hurts your credibility. Structure your documentation so the adjuster can follow it without confusion.
Folder structure:
- Root folder:
[Address] - [Claim Number]01-Overview02-North-Slope03-South-Slope04-East-Slope05-West-Slope06-Components07-Test-Squares08-Collateral-Damage09-Tear-Off
File naming: Use a clear, consistent format like 2026-03-28_123-Main-St_North-Slope_Hail-Closeup_01.jpg. Descriptive file names help the adjuster match each photo to a line item.
Submission: Send as a single ZIP file or shared cloud folder through the carrier's preferred channel. Back up everything to cloud storage immediately.
Documentation Quality
What gets approved vs. what gets denied
Blurry close-up with no context — adjuster can't tell where it is on the roof
Sharp close-up with chalk circle, tape measure for scale, and a matching mid-range shot
Single photo of the roof from the front yard — only one elevation documented
All four elevations captured, plus street view and each slope from ground level
Test square with no chalk marks — just a photo of a section of roof
10×10 ft square clearly outlined, every hit circled, with individual hit close-ups
Dark, shadowy photos taken at dusk that hide damage detail
Natural daylight, overcast conditions, even lighting across the damage area
Common documentation mistakes
Not enough context shots. A close-up of a hail hit means nothing if the adjuster can't tell where on the roof it is. Always pair close-ups with mid-range and wide shots.
Blurry photos. If the damage isn't sharp and clear, it doesn't exist as far as the carrier is concerned. Take an extra second to focus.
Missing elevations. Photograph all four sides of the building. Missing one side gives the adjuster a reason to question the completeness of your documentation.
No collateral damage photos. Gutters, siding, and window screens corroborate your roof claim. Skipping them weakens your overall case.
No tear-off photos. Hidden damage is some of the highest-value supplement material. Missing it means missing money.
Not citing building codes. Photos of existing ventilation or underlayment conditions support code upgrade supplements — but only if you also include the specific code section that requires the upgrade.
Documentation wins claims
The pattern is consistent: contractors who document thoroughly recover more per claim, get fewer denials, and close supplements faster. The camera work takes an extra 30–45 minutes per job. The difference in claim value is often thousands of dollars.
Let ClaimSpark do the heavy lifting
You handle the photos and measurements. ClaimSpark handles the rest — analyzing your claim documents, identifying every missing line item, and generating a professional supplement package that matches your documentation to the correct Xactimate codes. Flat fee per supplement, no percentage cuts.
ClaimSpark helps roofing contractors generate professional estimates, build supplement packages, and maximize claim value. Try free — 1 estimate and 1 supplement included.